
Hey boo,
Happy Pride!
To celebrate the occasion, we've compiled a list of 3 rainbow-inspired pride looks that you will LOVVVEE.
Rainbow liner:
Its a classic eye makeup look which is basic yet sneaks up suddenly. Creating a rainbow inspired wing eyeliner is a great pride month makeup idea.
- Start by applying primer on your eyelid, this will help your eye makeup last longer.
- Dust a light shaded eyeshadow across your lid. Begin by using some blue eyeliner and define a boundary from within your eye.
- Then, with some yellow and green eyeshadow keep following your liner. A pro tip, on the off chance that your green and yellow eyeshadow aren't sufficiently powerful, splash makeup fixer on the brush and pick the eyeshadow on a wet brush. This will help deliver more pigment to your eyes.
- For red, orange and purple you can use some lipstick and apply it to your lids with the assistance of a fine brush.
- Apply each variety in a steady progression and you'll have a pride makeup look for the eyes, that is basic and also adds the perfect proportion of variety.

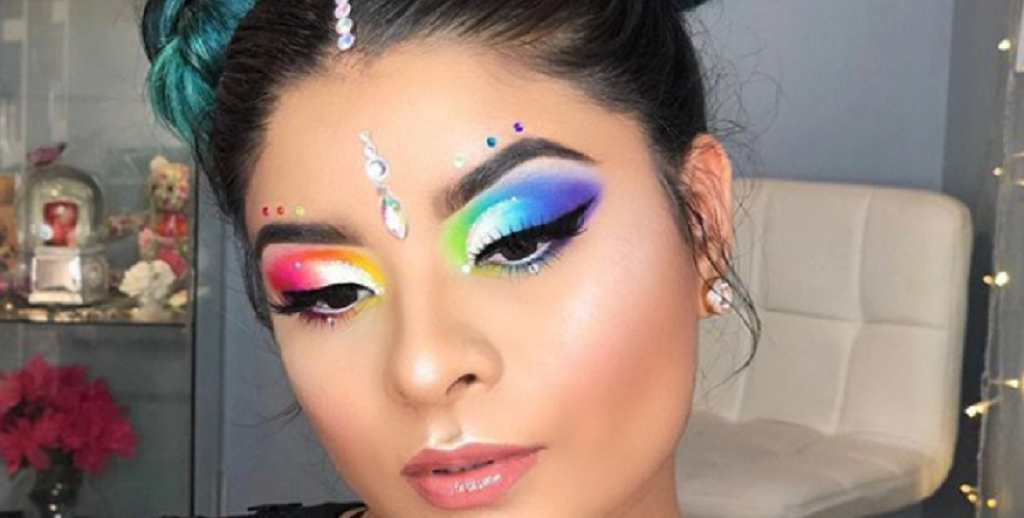
Rainbow eyeshadow
The ideal way to carry a rainbow to your eyes is with a pride eyeshadow look. This look might be a time consuming one, but the outcome is genuinely worth the effort.
- Begin by buffing around brown eyeshadow across your lids. This will help in making an even base to work with.
- On one eye, work with blue, purple and red tones. You can utilize your eyeliner or lipsticks to get the variety on your lids. Apply each shade in turn and mix it well.
- For the other eye, apply yellow, red and orange in a similar style. Isolating the colors will help them stand out!

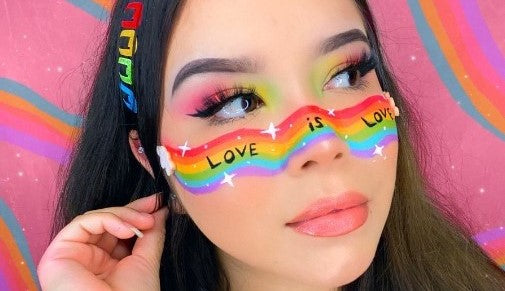
Rainbow cheeks!
If you're not someone who likes playing it safe (love that) this one is for you:
- For this, do your face makeup as you generally would. Once you get to the blush is where the fun starts
- Using liquid based eyeshadow or facepaint, paint the rainbow across your cheek.
- After you are finished mixing, apply some sparkle, or text of your choice. This will add the perfect proportion of pizzazz to your look.
With that, we're done with today's blog. Did you like it? You can always write to us at contact@blurindia.com and our team will reach out to you asap :)